There is nothing like the rich, creamy flavor and texture of an amazing homemade vanilla bean ice cream. If you own a Ninja Creami, you’re halfway there to making the creamiest and most indulgent ice cream with little effort. Whether it’s a beautiful sunny day or simply one of those regular nights, this bowl of creamy wonder makes any moment brighter. 🍦
Why You’ll Love This Recipe
No store-bought version will ever beat the true vanilla flavor of this simple to make homemade ice cream. Secondly, because you are making it yourself, all the ingredients you put in will be clean – no nasty additives or preservatives. The Ninja Creami makes this process super easy (pun intended 😉).
Table of Contents
- Ingredients for Creamy Vanilla Bean Ice Cream
- Step-by-Step Instructions
- Tips for Making Perfect Ice Cream with Ninja Creami
- Recipe Card
- Six Benefits of Vanilla Bean Ice Cream
- Conclusion & Storage Tips
Ingredients for Creamy Vanilla Bean Ice Cream
Here’s what you’ll need to whip up this simple yet delicious ice cream:
- 2 cups heavy cream – For that rich creaminess. 🥛
- 1 cup whole milk – Balances out the texture.
- 3/4 cup granulated sugar – Adds sweetness.
- 1 vanilla bean – Freshly scraped for that authentic vanilla flavor (or 2 teaspoons of pure vanilla extract if you don’t have beans).
- Pinch of salt – To balance out the flavors.
Step-by-Step Instructions
1. Prepare the Vanilla Bean
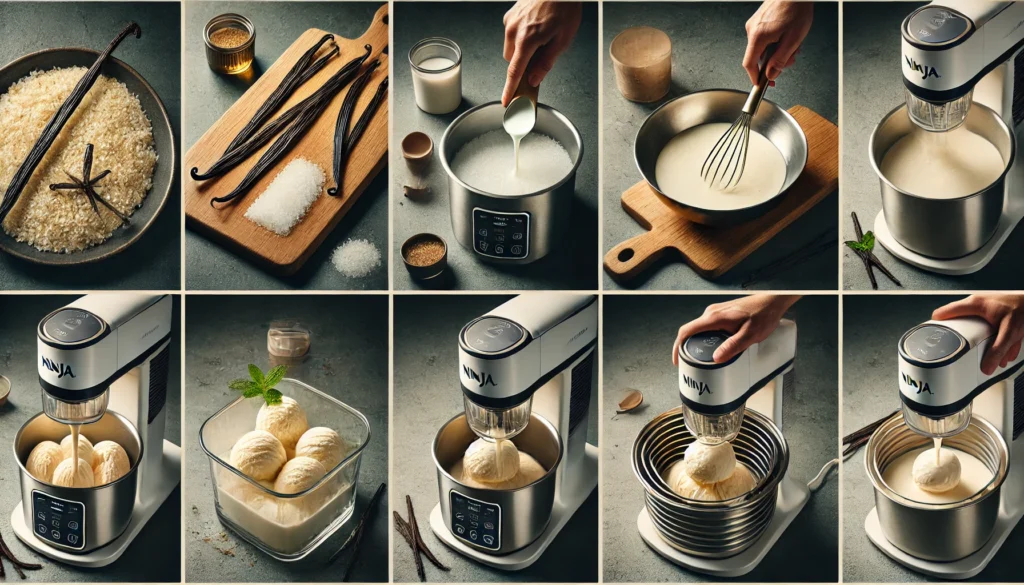
If using a vanilla bean, carefully split the vanilla bean lengthwise with a sharp knife and scrape seeds out of the pod. Seeds from the pods are what hold all of that delicious vanilla flavor!
2. Mix the Ingredients
In a medium saucepan on medium heat, warm the heavy cream, whole milk, sugar, vanilla bean seeds (or vanilla extract), salt. Stir until the sugar is fully dissolved and make sure that you do not boil the mixture! You did wait for them to meld, right?
3. Chill the Mixture
First, the sugar must dissolve and then you take it from the heat. Let it cool to room temperature, transfer into an airtight container. Chill in the fridge for at least 4 hours to over night (better flavor over time).
4. Use the Ninja Creami to Churn the Ice Cream
Now comes the fun part! Follow the Ninja Creami’s instructions:
- Pour the chilled mixture into the Creami’s pint container.
- Freeze the container for 24 hours. The longer it chills, the creamier the texture will be.
- Once frozen, insert the pint into the Creami bowl, attach the blade, and lock it in place.
- Select the “Ice Cream” function on your Ninja Creami and let it work its magic! You’ll see the mixture churn into smooth, creamy ice cream in minutes.
5. Scoop and Enjoy
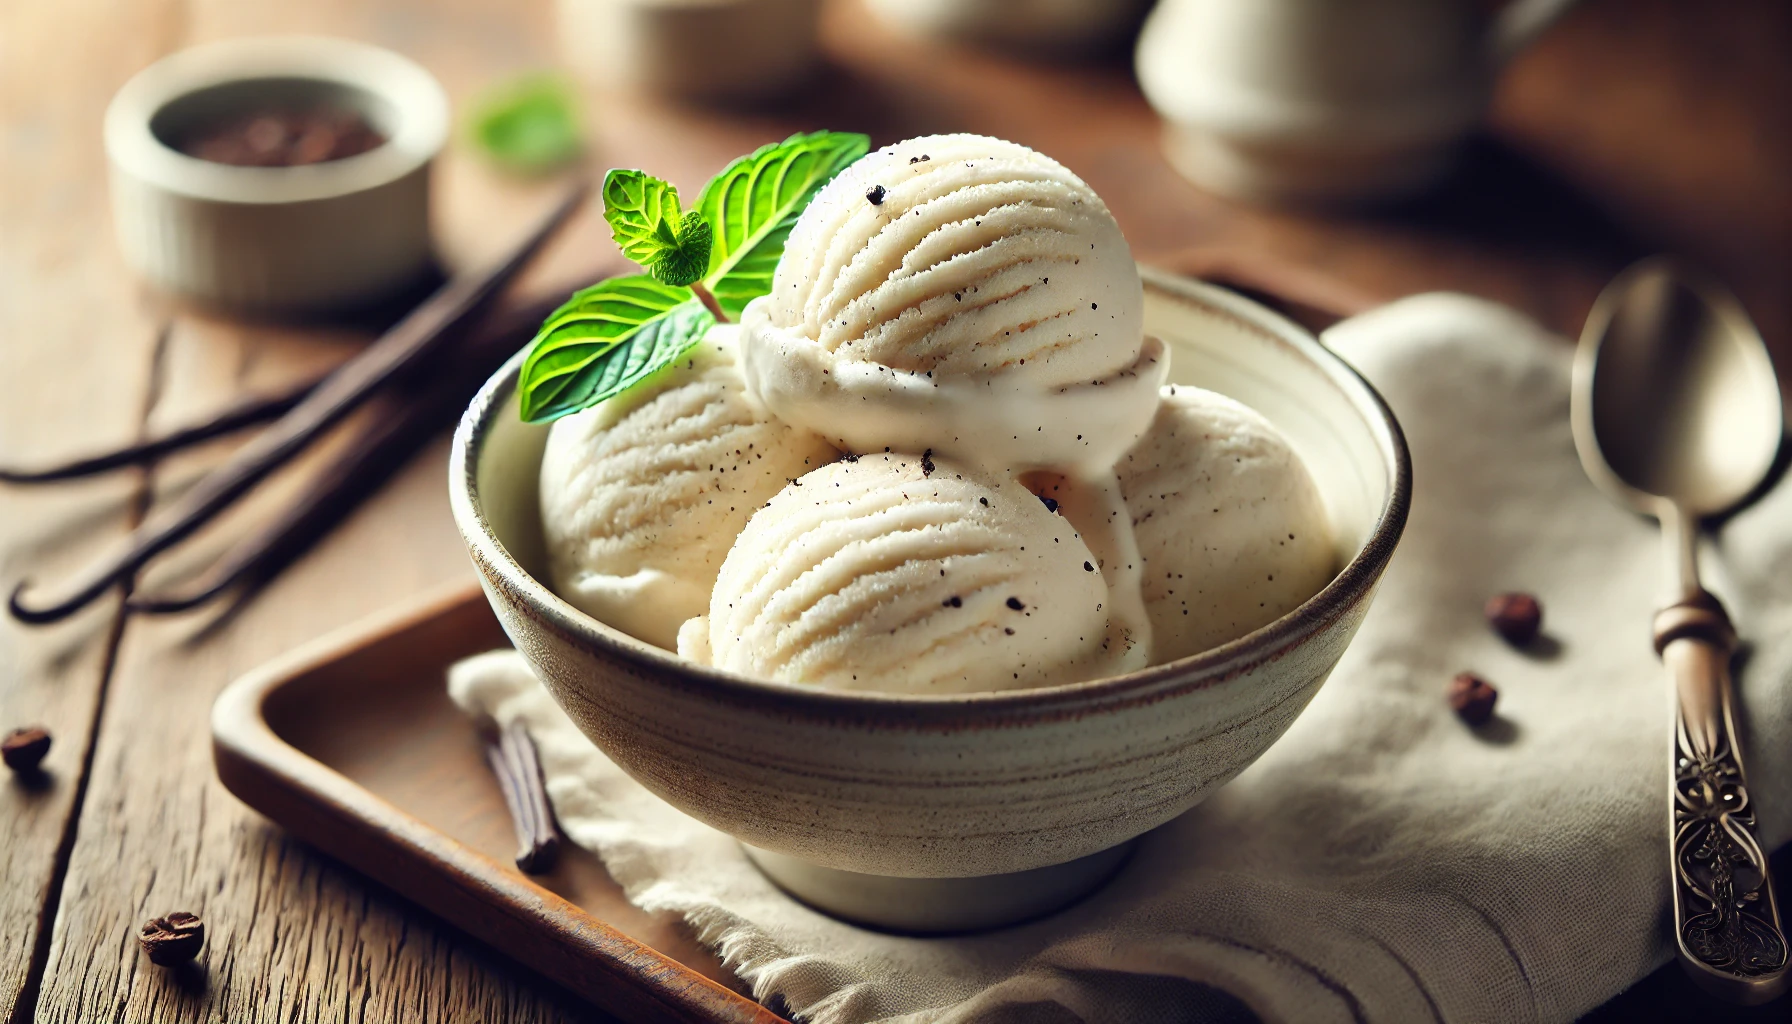
Once done, remove the pint from the machine and serve immediately! Top with fresh fruit, chocolate syrup, or even a sprinkle of nuts for a personalized touch.
Tips for Making Perfect Ice Cream with Ninja Creami
- Use high-quality ingredients: This recipe is so simple that the quality of the cream, milk and vanilla bean itself will really affect how good it turns out.
- Re-churn if needed: But if, as above, your ice cream is too crumbly or not milky enough after the first churn, just put it back into the machine and hit “Re-spin”.
- Flavor variation: Add mix-ins like chocolate chips, fruit puree, or cookie crumbles after churning. Just fold them in for a burst of flavor and texture!
Recipe Card
| Ingredient | Quantity | Notes |
|---|---|---|
| Heavy cream | 2 cups | Provides the rich and creamy base. |
| Whole milk | 1 cup | Balances the texture for smoothness. |
| Granulated sugar | 3/4 cup | Sweetens the ice cream perfectly. |
| Vanilla bean | 1 bean | Scraped seeds; substitute with vanilla extract if unavailable. |
| Salt | Pinch | Enhances the flavors without overpowering. |
Instructions
- Slice vanilla bean down the middle and scrape out seeds.
- Heat the Cream, Milk, Sugar, Vanilla and Salt in a saucepan over medium heat until Sugar is Dissolved
- Place the mixture in to the refrigerator to chill for 4 hours or overnight.
- Add to blender container of Ninja Creami, freeze for 24 hours, then churn using the “Ice Cream” function.
- Serve and enjoy! 🍦
Prep Time: 10 minutes
Chilling Time: 4 hours
Freezing Time: 24 hours
Servings: 4
Six Benefits of Vanilla Bean Ice Cream
| Benefit | Description | Calories | Carbs (g) | Protein (g) | Fat (g) | Fiber (g) | Sugar (g) |
|---|---|---|---|---|---|---|---|
| Nutrient Balance | Contains a mix of fats, carbs, and proteins for energy. | 220 | 19 | 3 | 17 | 0 | 19 |
| No Preservatives | Homemade means no added artificial preservatives. | 220 | 19 | 3 | 17 | 0 | 19 |
| Customizable Flavors | Easy to add fruits, nuts, or chocolate for added benefits. | 250 | 22 | 4 | 17 | 1 | 20 |
| Good Source of Calcium | Dairy-based, offering calcium for strong bones. | 220 | 19 | 3 | 17 | 0 | 19 |
| Moderate Sugar Content | Control over sugar content to suit dietary needs. | 220 | 19 | 3 | 17 | 0 | 19 |
| Rich in Antioxidants | Vanilla beans contain antioxidants for health benefits. | 220 | 19 | 3 | 17 | 0 | 19 |
Conclusion & Storage Tips
With the new Ninja Creami, you can have fun making your own creamy vanilla bean ice cream and make it a bit healthier! The ice cream will last refrigerated for a couple of weeks without losing its creamy consistency and taste. Put in a Airtight Container so it doesn’t freezer burn, if it freezes to hard let sit out for a few minutes on the counter when your ready to eat!
Therefore, whether you are throwing a summer bash or desiring a late-night snack, this creamy vanilla ice cream formula would be the one. Scoop by scoop, savor every last bite and sprinkle in various flavors or toppings! 🍨✨
Remember, homemade treats are all about having fun and experimenting, so make sure to mix it up and add your own twist to this delicious recipe. Bon appétit! 😋

